Open Programmer v0.7.x
 |
| Main Programmer. |
Here is my version of Open Programmer v0.7.x originally located HERE.
An open source USB programmer for PIC micros, I2C-SPI-MicroWire EEPROMs, some ATMEL micros, generic I2C/SPI devices and (soon) other devices..
Quick facts
- Completely free and Open Source (including firmware)
- Programs PIC10-12-16-18-24, dsPIC30-33, EEPROMs type 24xxxx (I2C), 25xxx (SPI), 93xx6 (MicroWire), some ATMEL micros, communicates with generic I2C & SPI devices (see supported devices)
- Can work as ICD debugger
- USB 2.0 Full Speed interface, HID class (same as keyboards, mice, etc.)
- Self powered
- Doesn't need drivers
- Built from easy to find components (estimated cost ~10€)
- Hardware generated timings for maximum speed and reliability (writes a 18F2550 in 15s, 8s under Linux)
- Doesn't saturate your CPU and doesn't suffer when other programs are running
- Open source control programs for Linux and Windows
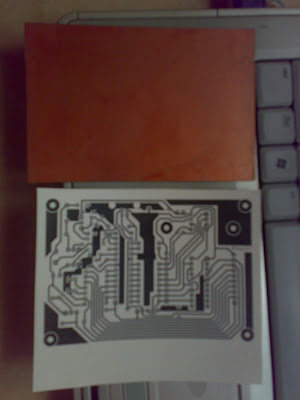
Preparing the blank PCB for image transfer:
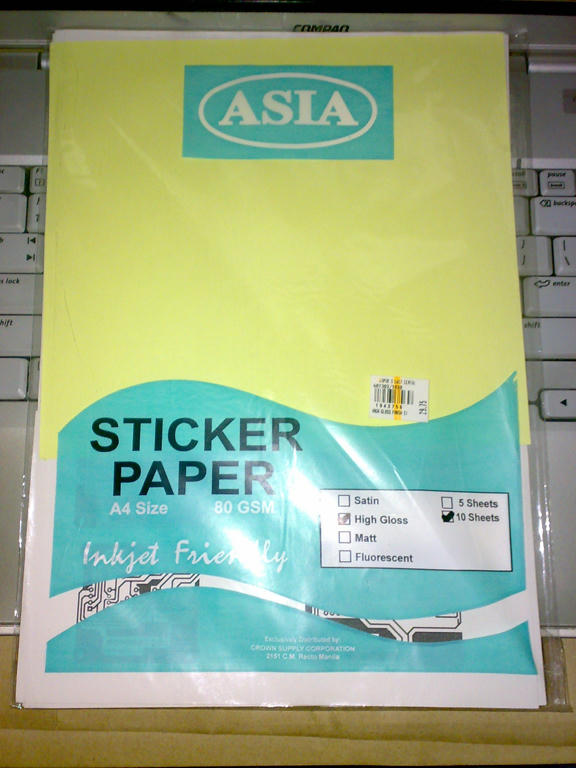
BTW ito yung paper na ginagamit ko...
 |
| Sticker paper for iron-on. |
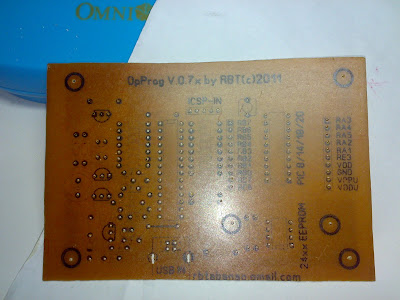
After iron-on soak the PCB on warm water to peel-off the paper..
Now the PCB is ready for etching..:D
PCB now on my DIY etching solution:
Here is the etch PCB now ready for drilling:
Drilling time:
Drilled PCB ready for stuffing:
Oopsss....Don't forget the PARTS PLACEMENT GUIDE before stuffing the parts :D
Stuffing some IC sockets....
Almost finish..:D
Finished Product!
First run...let see if gagana nga...:D
Yes!! It's working!!
Some hardware test and initial testing...
Test programming 16F628A
28 and 40 pin PIC adapter construction:
 |
| Adapter PCB |
 |
| Adding IC socket and headers |
 |
| Soldering |
 |
| Programmer base |
 |
| Trial fit..:D |
Here is the final look of adapter mounted on Base Programmer:
Here is another adapter for ATMEL Devices
 |
| Top of the ATMEL adapter board. |
 |
| the copper side. |
Atmel adapter board installed on main Programmer board.
 |
| installed on main programmer. |
ATMega8 installed ready for programming.
 |
| ATMega8 on board.. |
 |
| Closed-up view of ATMega8 chip. |
 |
| ATMega8 read successfully. |
Success!! waiting for some device to test....


ayos na ayos ah..waiting for result drilled
ReplyDeletebadtrip! naubusan ako ng soldering lead!!
ReplyDeleteboss anong transfer paper po ang gamit mo, injet printer ba will also do? hobbyist po dati mukhang pinukaw mo na naman ang addiction.....
ReplyDeleteduc_tech po
punyeta bat bitin?? ano to harry potter movie? hahahaha!
ReplyDeletejoshua3_ph
@duc_tech ---> check above for paper details...:D
ReplyDelete@joshua3_ph
Dahan2..mahina ang kalaban...
hehe oo nga naman dahan dahan lang...
ReplyDeleteplease visit too for more tech.. infos :)
http://actechstop.blogspot.com/
astig! ganda rin ng plato bulaklakin.hehehe
ReplyDeleteUPDATE!!
ReplyDeleteConstruction of 28 and 40 pins PIC adapter..
tol hindi ko makita yung info about sa image transfer nung stcker paper to pcb.paano ba ginagawa yun?
ReplyDelete@mj..
ReplyDeleteiplantsa mo...:P
tol anong ginamit mong ink jan?kc dung pinaprint ko tpos pinlantsa kona ayaw mag transfer yung ink na gamit ko yung sa mga bottomless ink yung liquid.
ReplyDelete:P laser printer gamitin mo..wag yung inkjet..or ipa photo copy mo yung layout...
ReplyDeleteman plz gimme sum detail on ironing paper used
ReplyDeleteratmcu2@gmail.com
mag aantay ako matapos ito boss... sana matapos mo na..hehe winlove
ReplyDeletesir ...meh kit poh ba kayo nito ?? interested poh ako bumili. please pm me .el_ombre49@yahoo.com please pm me thank poh ..
ReplyDeleteboss gud day, may ara kapa ni sang kit boss? ari lng ko d florida ah. ask ko kng tag pila. tia
ReplyDeleteFlorida? sa Villamonte?
ReplyDeletemaster RBT bakit sa akin ito 3.3V Regulator not detected ano kaya naging problema
ReplyDeletethanks